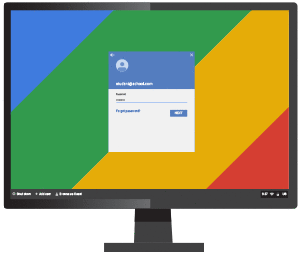
CloudReady Free is a custom version of ChromeOS which you can run on a PC: standalone, dual booting with Windows (maybe), or in a virtual machine.
The download link gets you the ChromeOS image. Once you have it, use the Chromebook Recovery Utility to install it on an empty 8 or 16GB USB key (beware, this wipes any other data on the device).
Boot your target PC from the USB key and the installation program walks you through the setup process.
If you'd rather use VirtualBox, convert the CloudReady image to a VirtualBox disk image first. You'll need a command something like this, changing the paths as appropriate for your system:
“c:\program files\oracle\virtualbox\VBoxManage.exe” convertfromraw "C:\Users\MyName\Downloads\cloudready-free-45.3.39.bin\chromiumos_image.bin" cloudready.vdi
Create a new VM, using the file you've just created as the storage device.
Otherwise, we based the VM on "Other" type and "Other/ Unknown" version; checked System > Motherboard "Enable I/O APIC" and "Enable EFI"; set Processors to half of our available CPUs; enabled PAE/ NX; set video memory to 128MB, and enabled 3D acceleration.
Boot the VM and the installer should appear within a few seconds.
Verdict:
The idea of turning a PC into a Chromebook misses the point of both devices, we'd suggest. But if you disagree, or just want to try ChromeOS in a VM, then CloudReady Free gets the job done easily enough.


Your Comments & Opinion
Create a bootable USB key to recover your Chromebook
Easily create bootable USB drives from ISO images
Run Android apps on your Windows PC
Build your own custom Windows install disc
Easily transfer your favourite Linux live CD distro to a USB stick, on a Windows PC
Run Android in a window on your Windows desktop